
This article is for Administrators who would like to create Assessment Round.
An Assessment Round is when you create an assessment for more than one Application at the same time. This enables you to assess all Applicants against the same criteria. The Applications will need to be submitted before you can assess them. Applications that have the status “Started” do not have this function.
Create Assessment Round
- Navigate to the Assessment Rounds via the Assessments menu, click New Assessment Round.

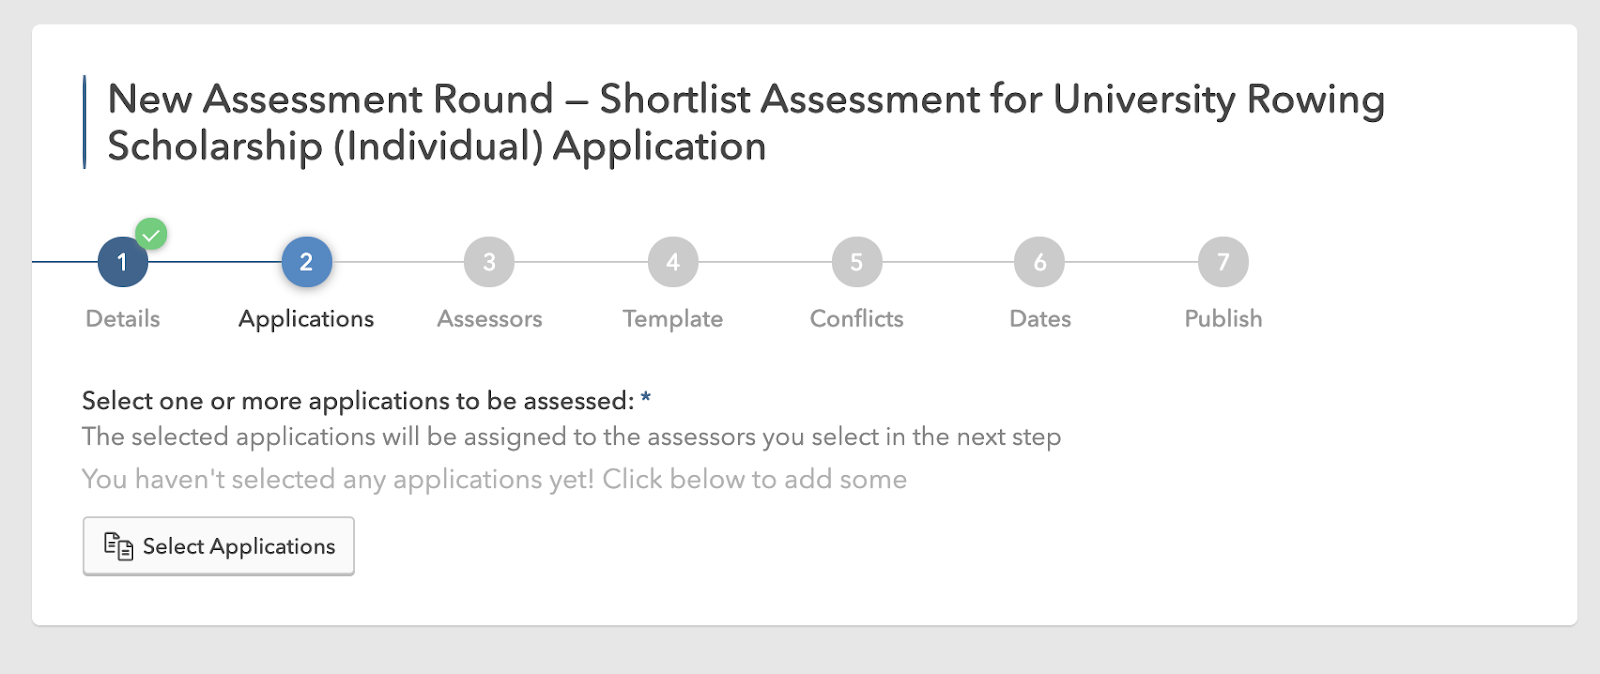
Step One: Details
- Enter Title.
- (Optional) Enter Description.
- Press Next.

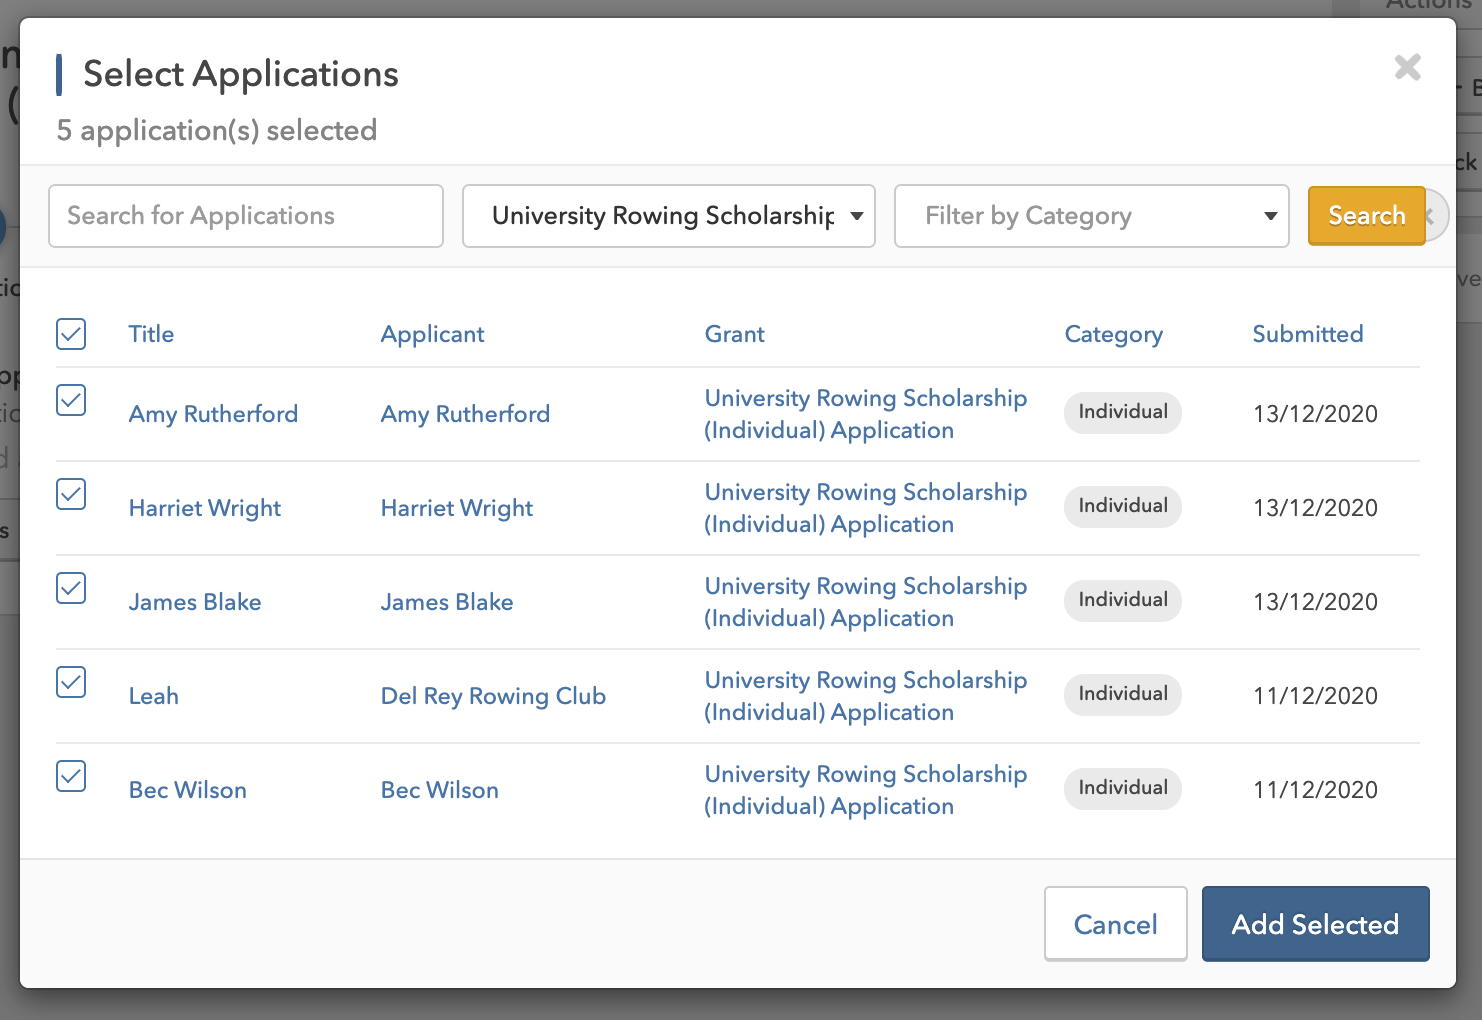
Step Two: Applications
- Select Applications
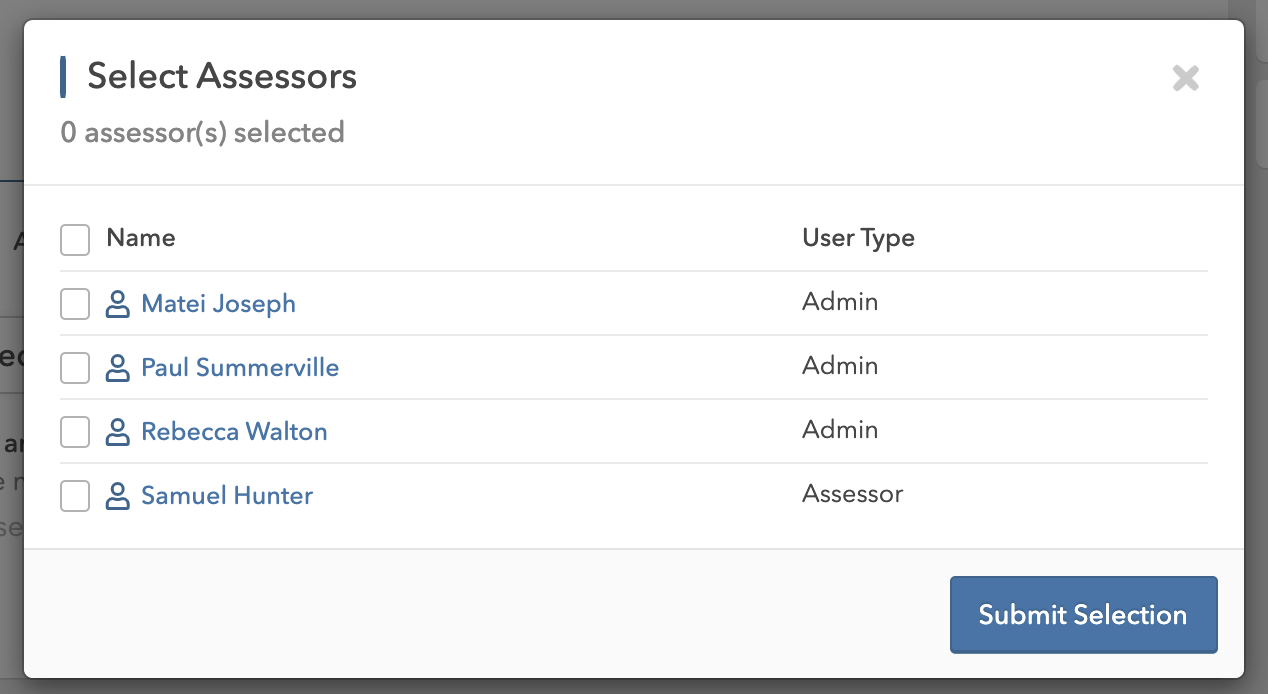
Step Three: Assessors
- Select Assessors. These can be Admins or Assessors.
- Assign Applications to specific Assessors by clicking Assign. Note: rather than having each Assessor access every single Application, you can opt to distribute Applications across different Assessors. This can make the assessment process more efficient.
- Sharing Assessments ( options ) - if you wish to share assessments from the current or previous Assessment Rounds you can select which Assessments can be shared with an Assessor by clicking on the Sharing button on the Assessor's row

This will present you with a popup to find the Assessments you want to share with this Assessor ( Abbie in the above screenshot )
Select the Assessments and click Add

Once this is done, you will see the Shared Assessments count change in the setup page, you can update the shared Assessments at any time by clicking on the number of the Sharing button again.

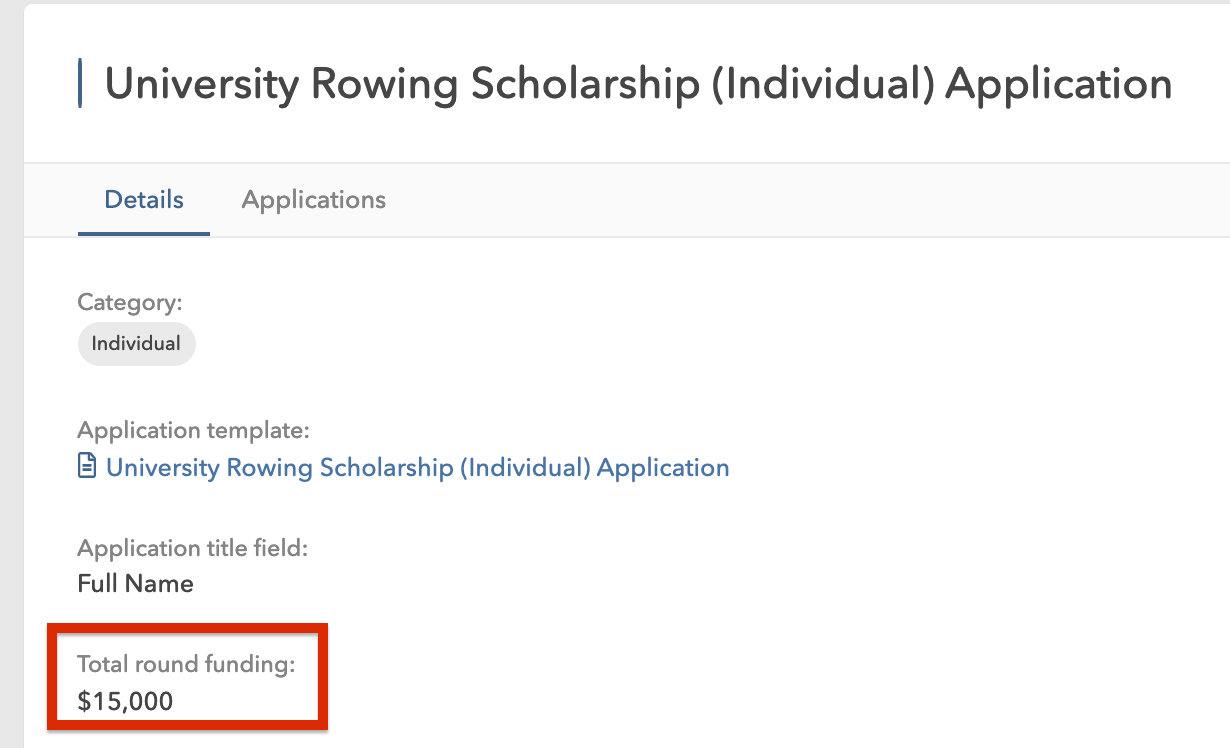
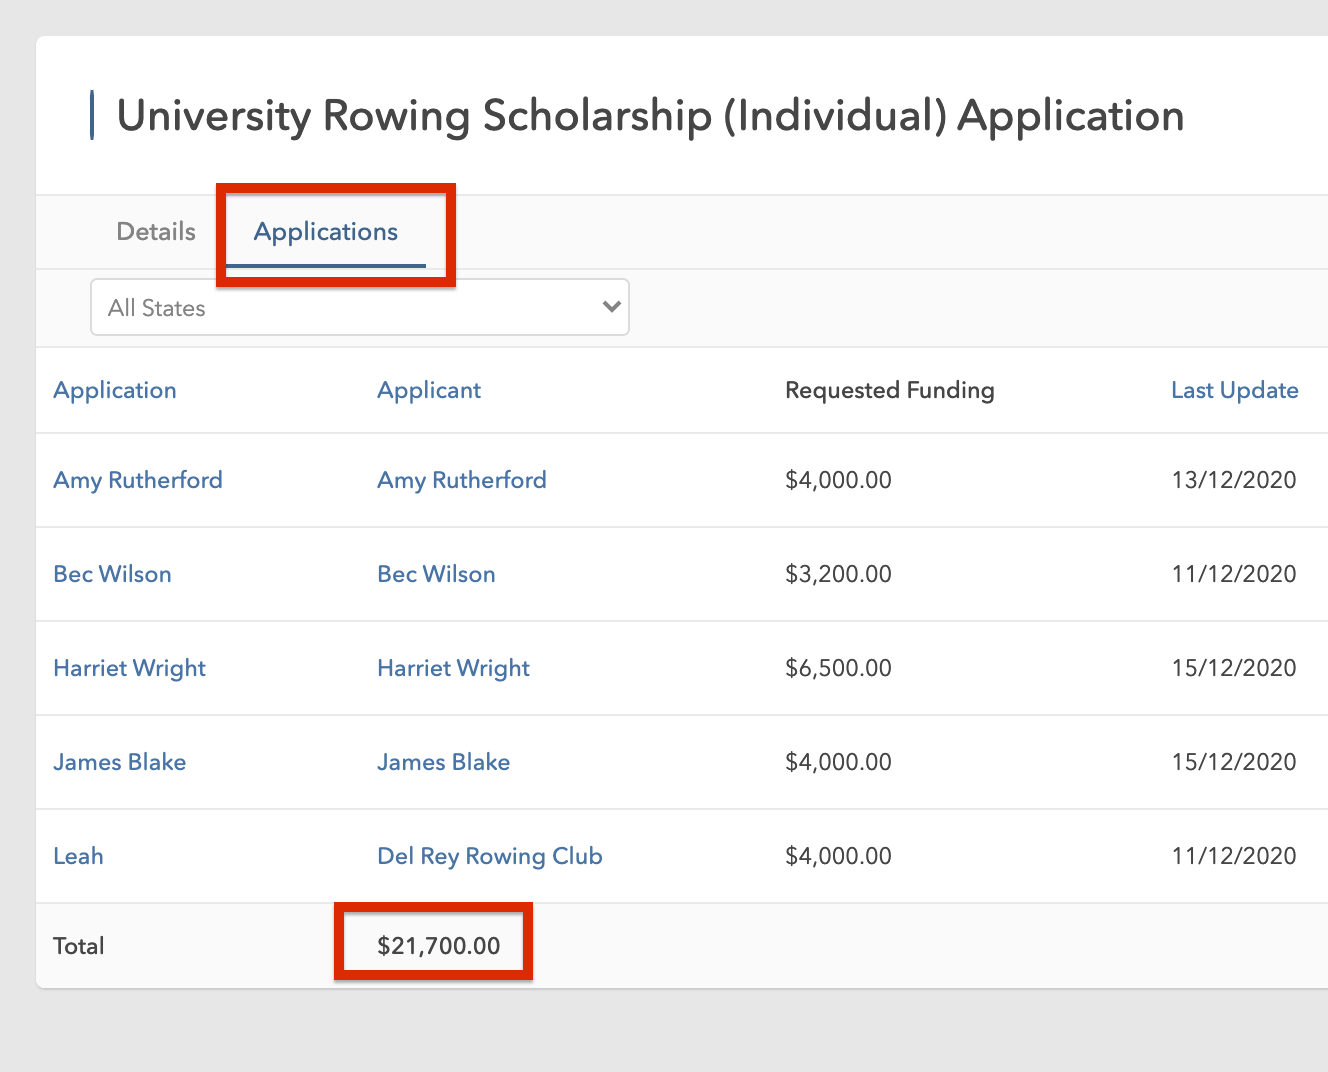
Tip: While you are in the process of creating an Assessment Round, it’s helpful to know the total value of funds applied for across all applications in the round. In this example, the total round funding is $15,000. If you navigate to the Applications submenu within your selected Grant, you can see a list of the Requested Funding.
Step Four: Template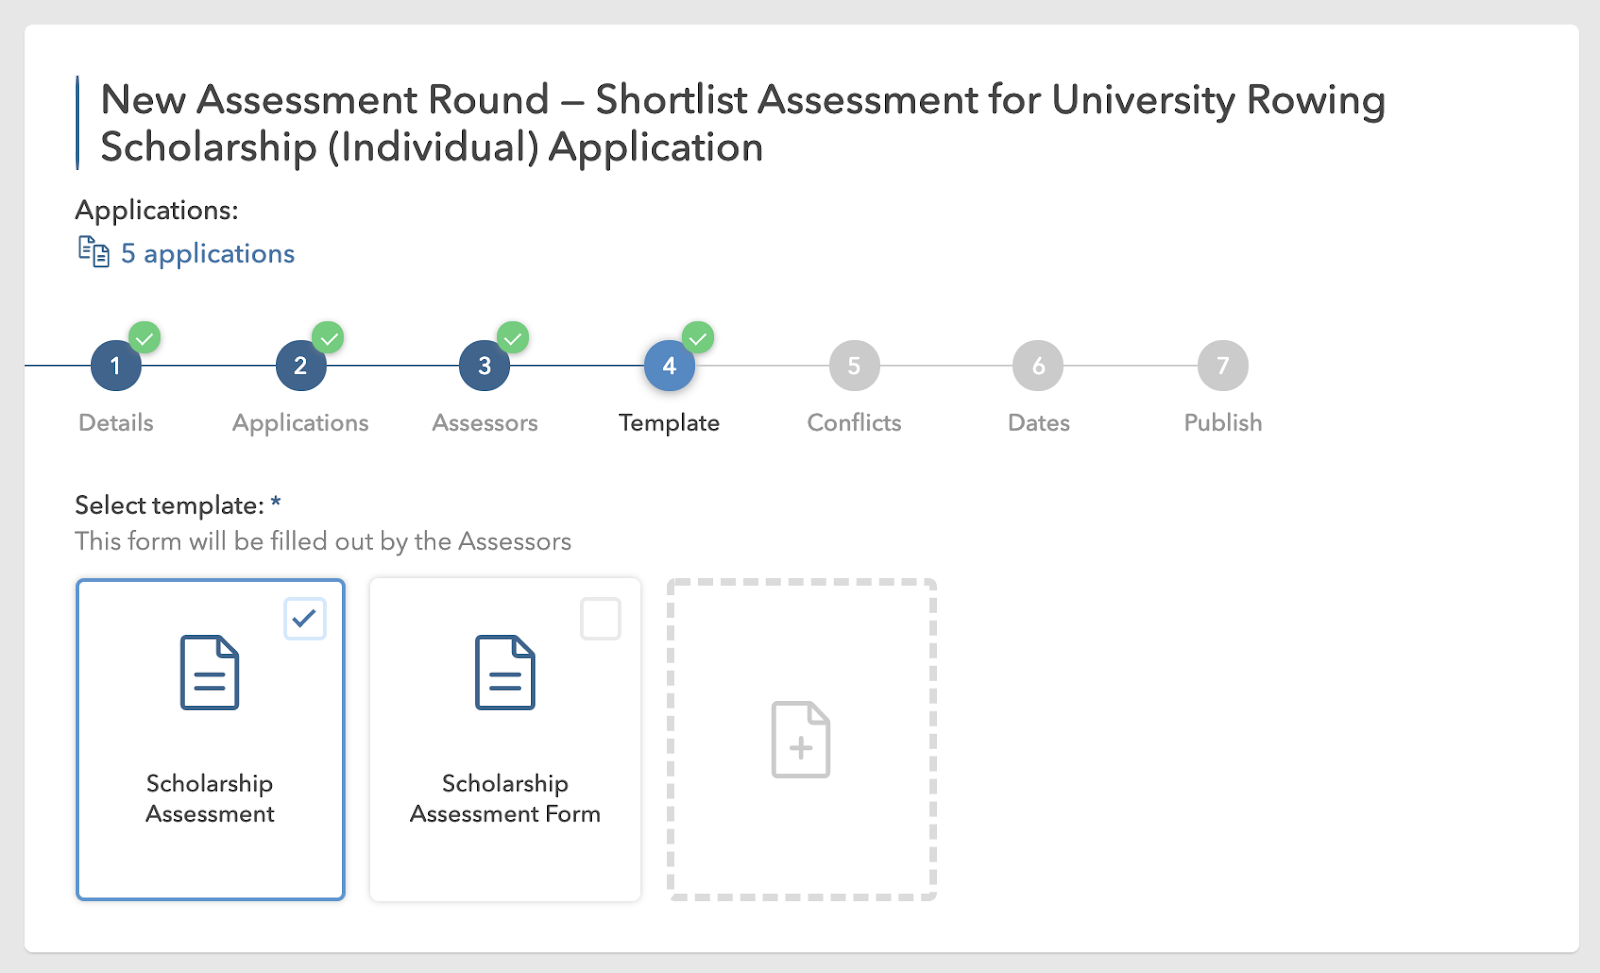
Here you have the three options:
(A) Select an existing assessment form template
(B) Select an existing assessment form template and Edit the template
(C) Create a New Assessment Form
Important Note: See Assessment Templates to learn how to create and edit templates.
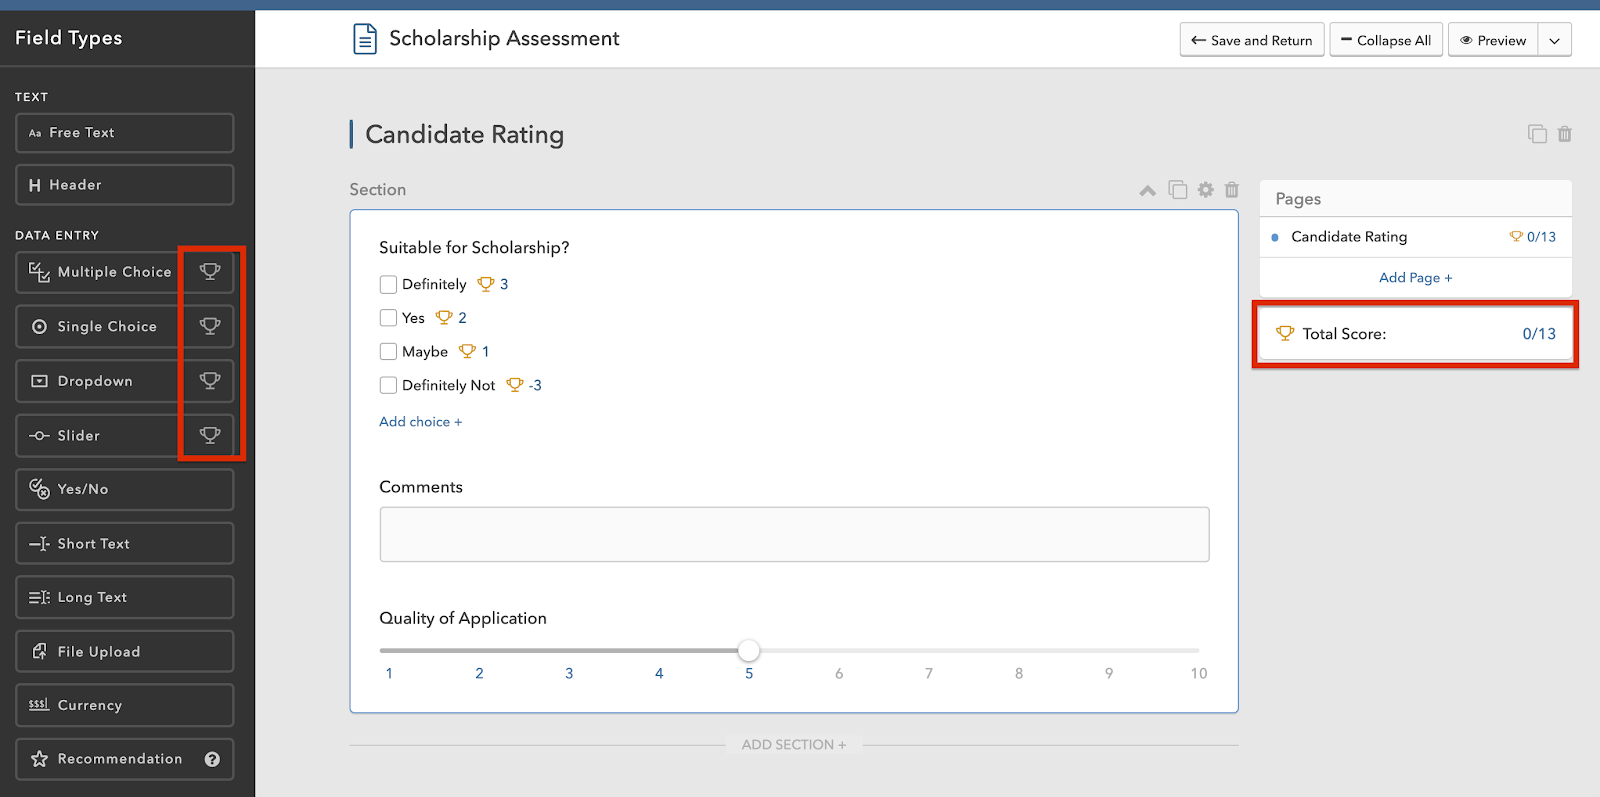
Below is the Assessment Form used in this example. This form has fields that will enable the Assessor to rate the Application which will result in a “Total Score”. This feature very helpful in the assessment process.
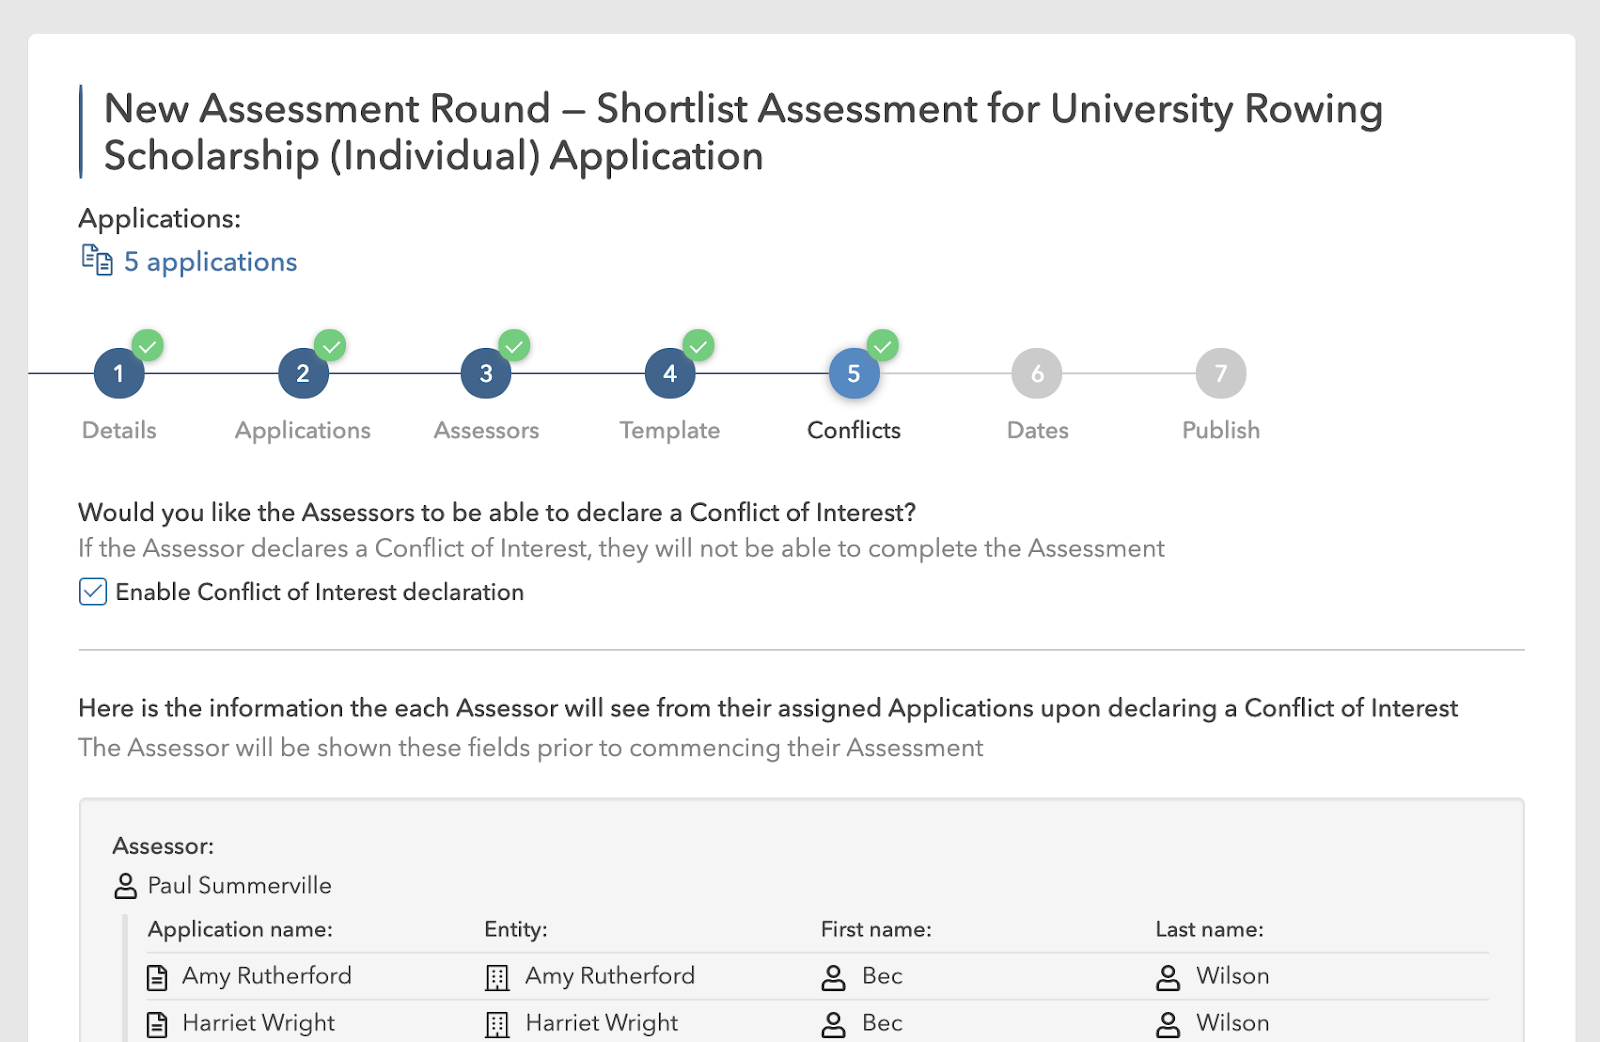
Step Five: Conflicts of Interest (COI)
- (Optional) Tick “Enable Conflict of Interest declaration” if you would like accessors to notify you if there is a COI. See Conflicts of Interest for more information.
- Click Next.
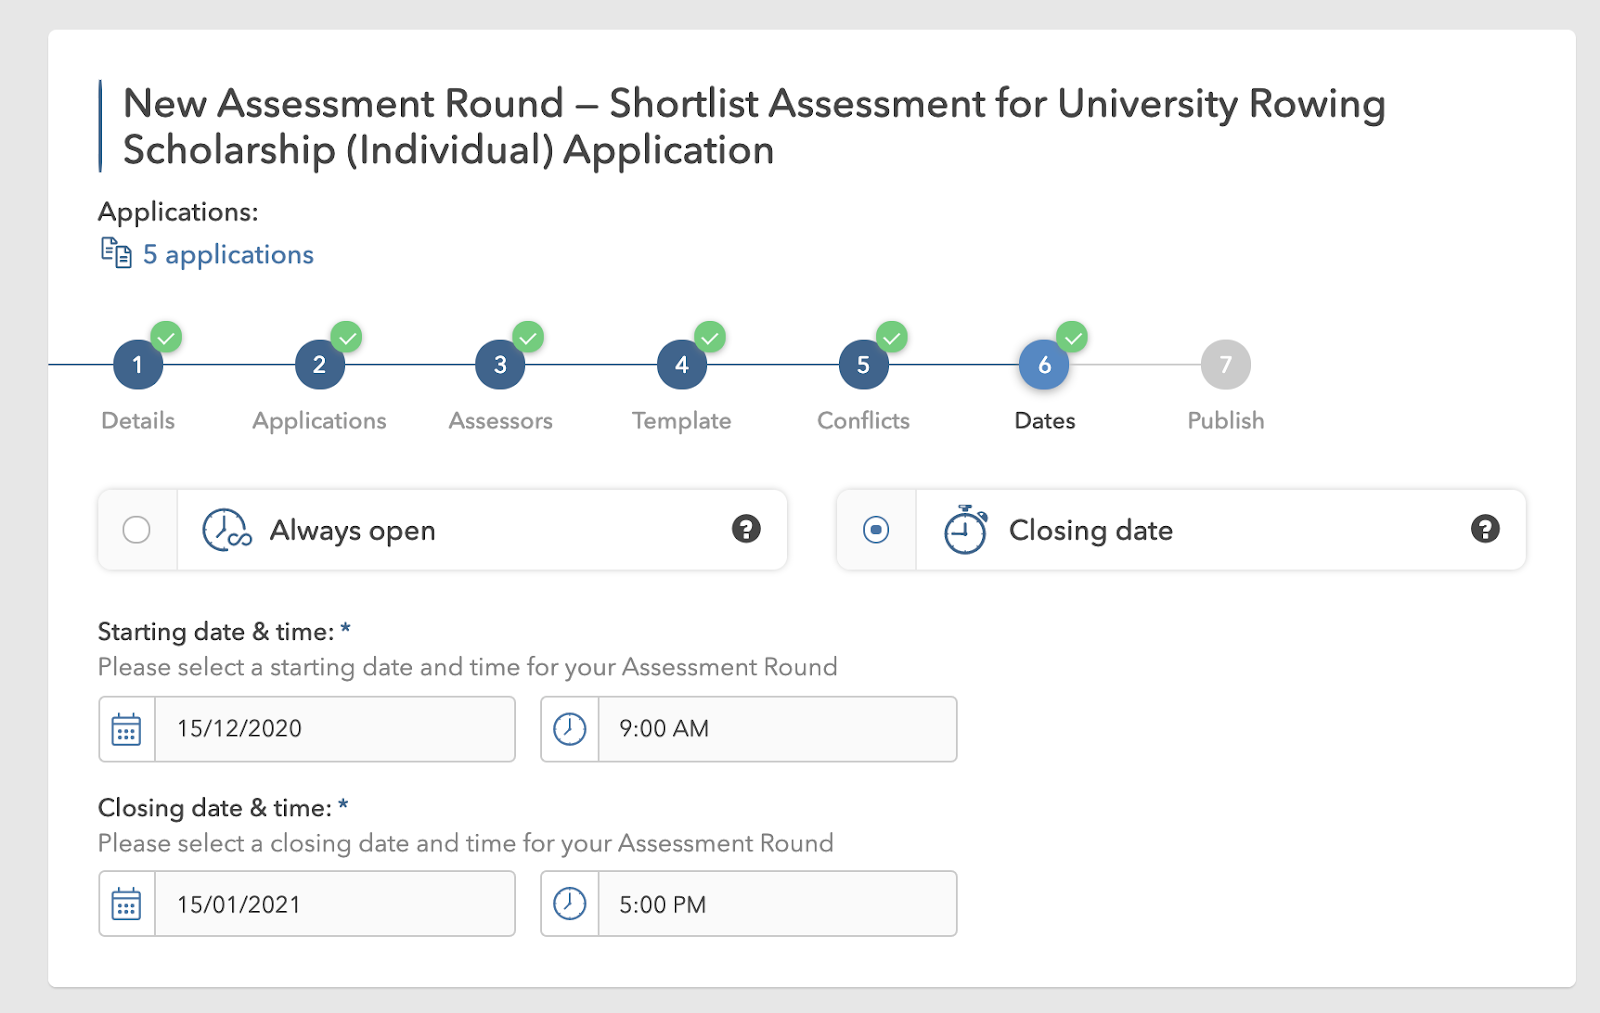
Step Six: Dates
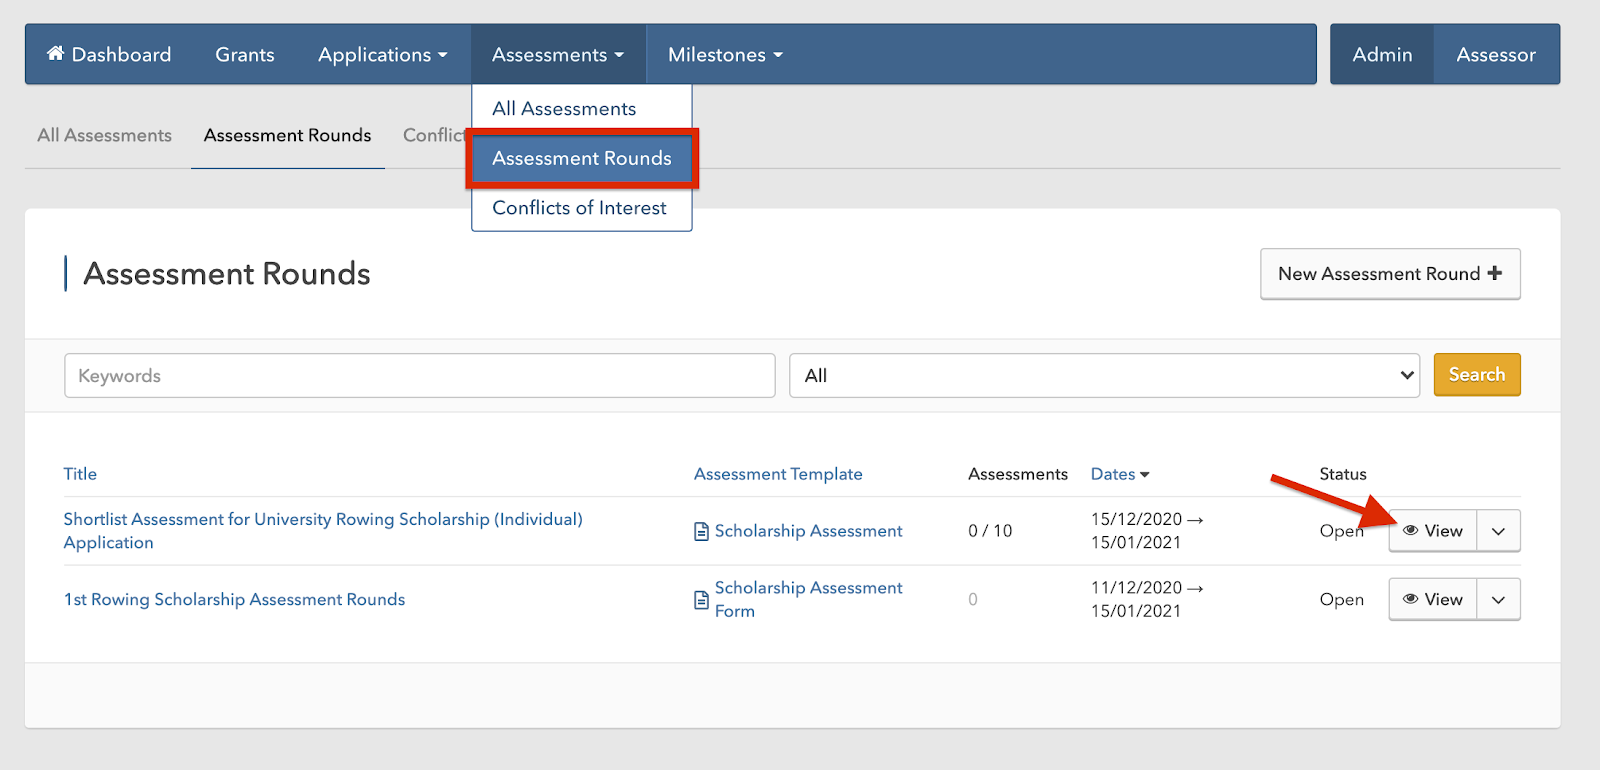
After you have created your Assessment Round, you can monitor it via the Assessment Rounds menu.
Locate the Assessment, then click View.
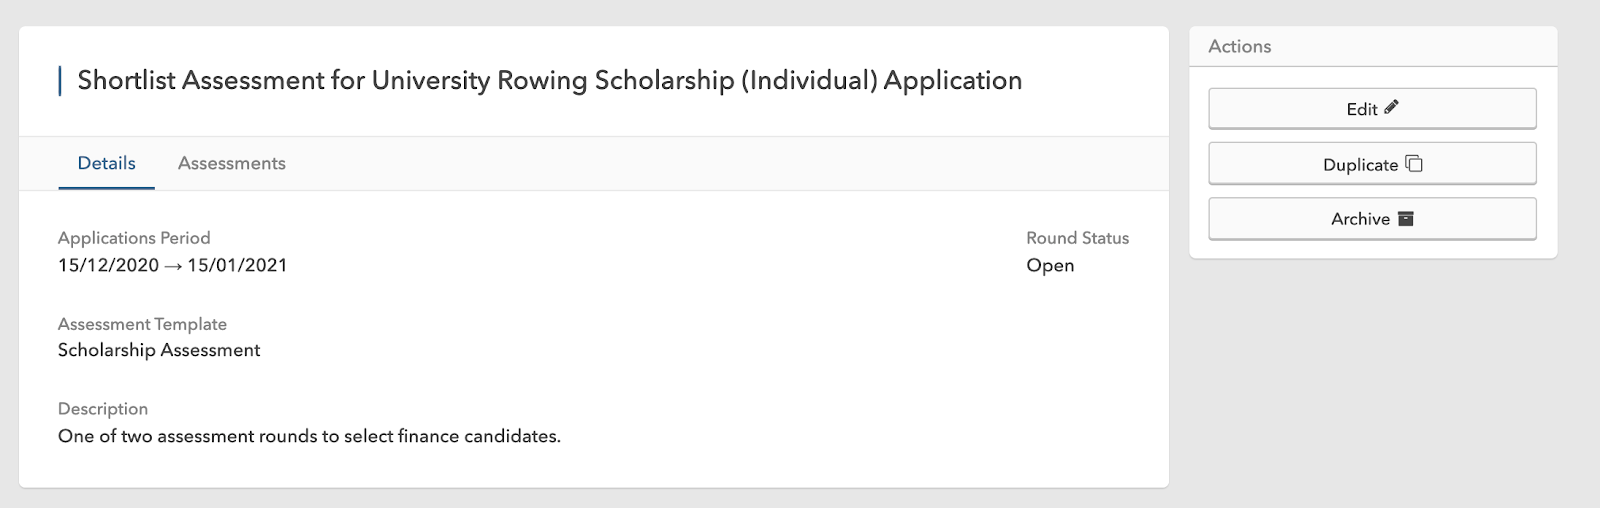
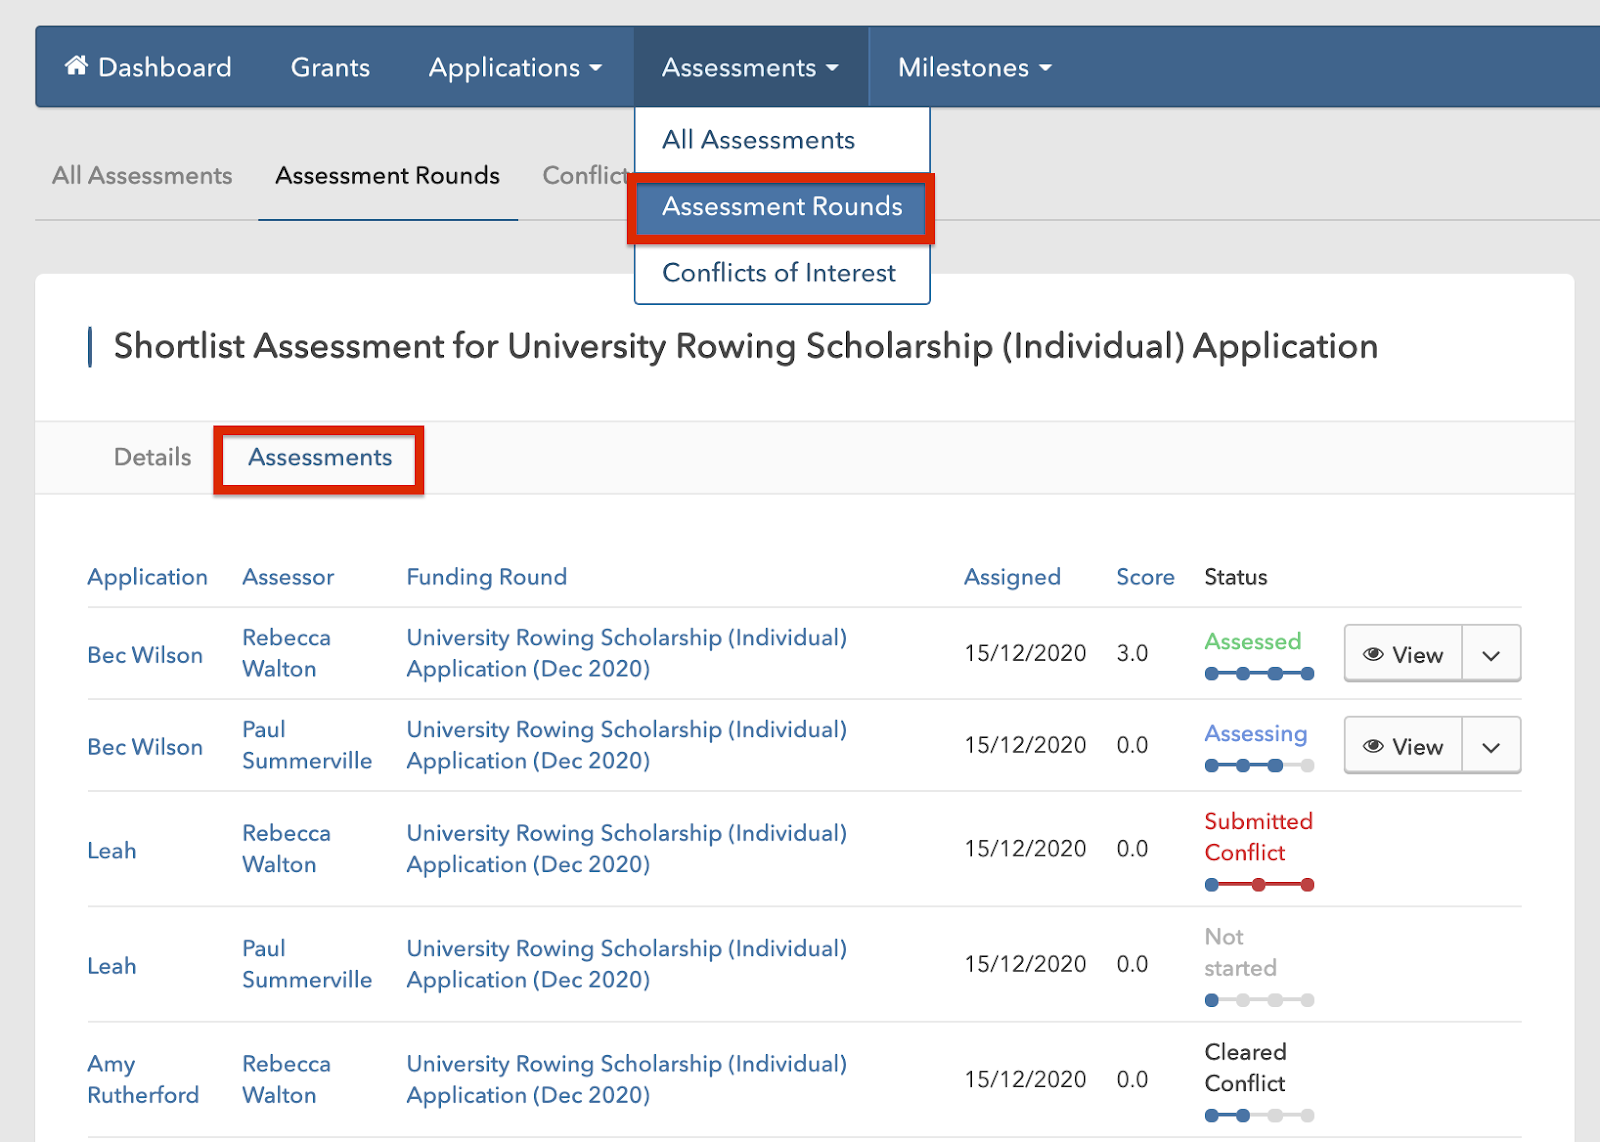
Navigate to the Assessments submenu of the assessment. Here you can review the status of each assessment. You can also click View for a specific application to see further details.
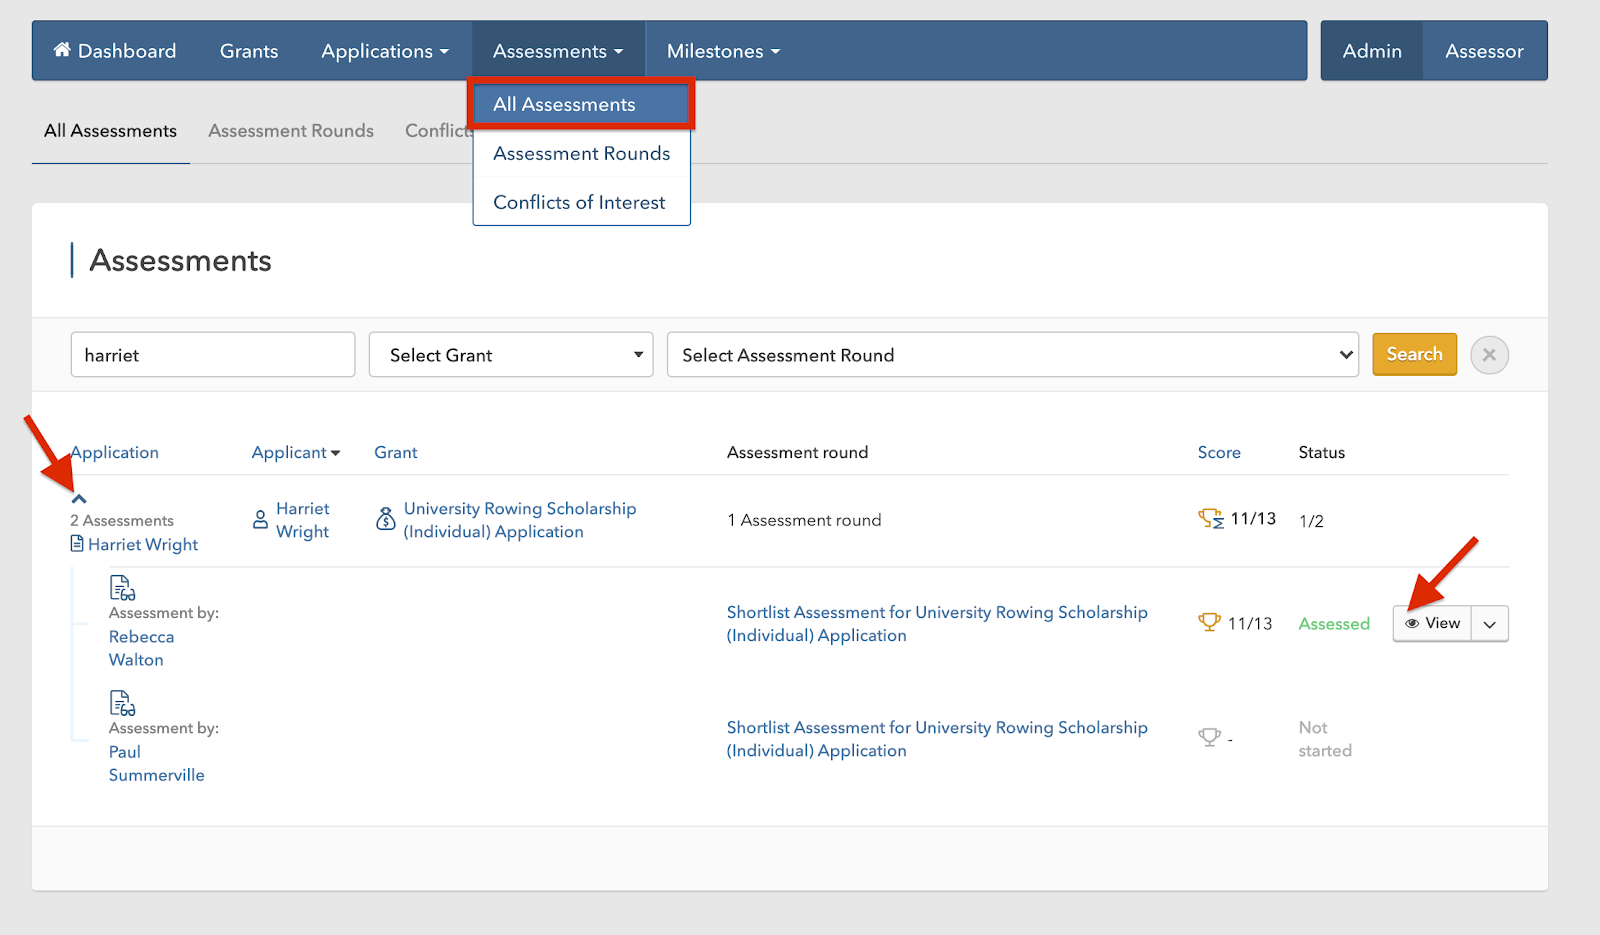
- Alternatively, navigate to assessments via the All Assesments menu. Locate the assessment you wish to review. On the right hand side, press the downward arrow. Here you can review the score and status of the assessment for the chosen application. Click View for a specific application to see further details.
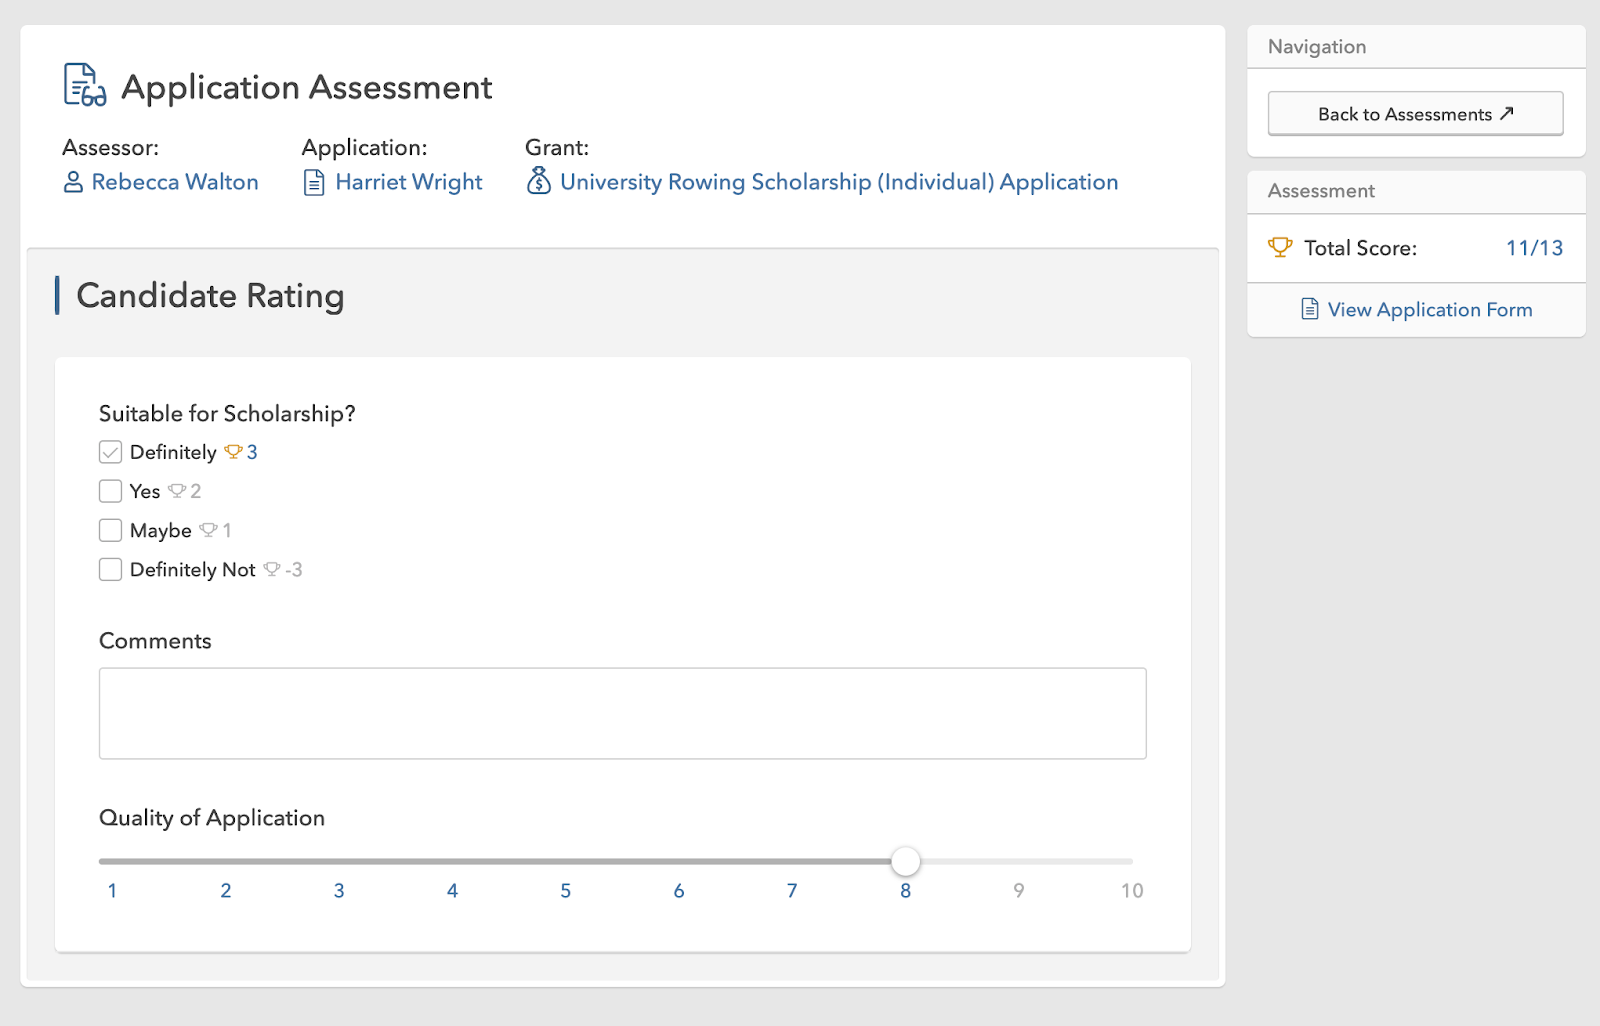
When you view this example, you can see that the assessment form has been completed and you are able to review the Assessors feedback.
What’s Next?
- Monitor the progress of Assessments.
- Review and respond to any Conflicts of Interests declared by Assessors.
- Wait for the Assessors to submit their completed forms.
- If applicable, create more Assessment Rounds.
- After the Assessment process has been completed, you can decide how to proceed with your funding round. See Decisions Overview.