
Setting up SAML SSO with Microsoft Azure
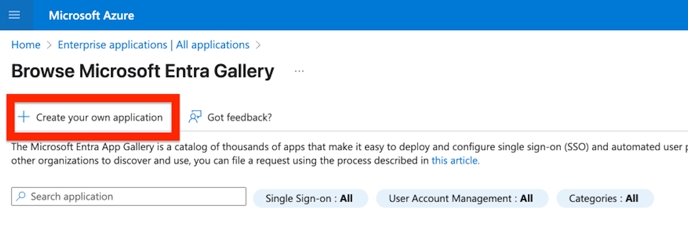
1
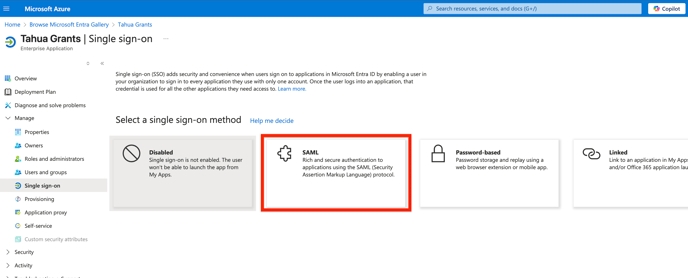
3
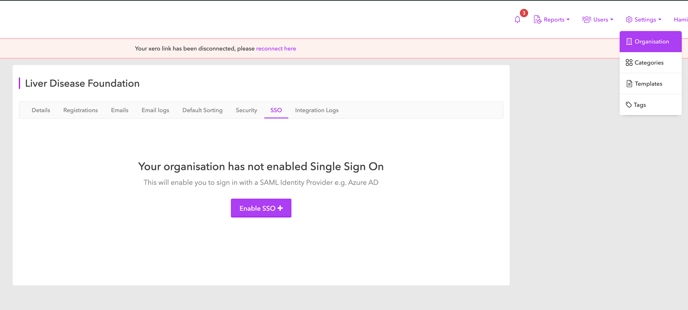
5
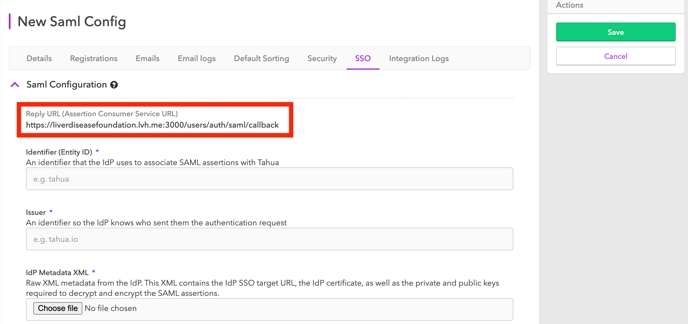
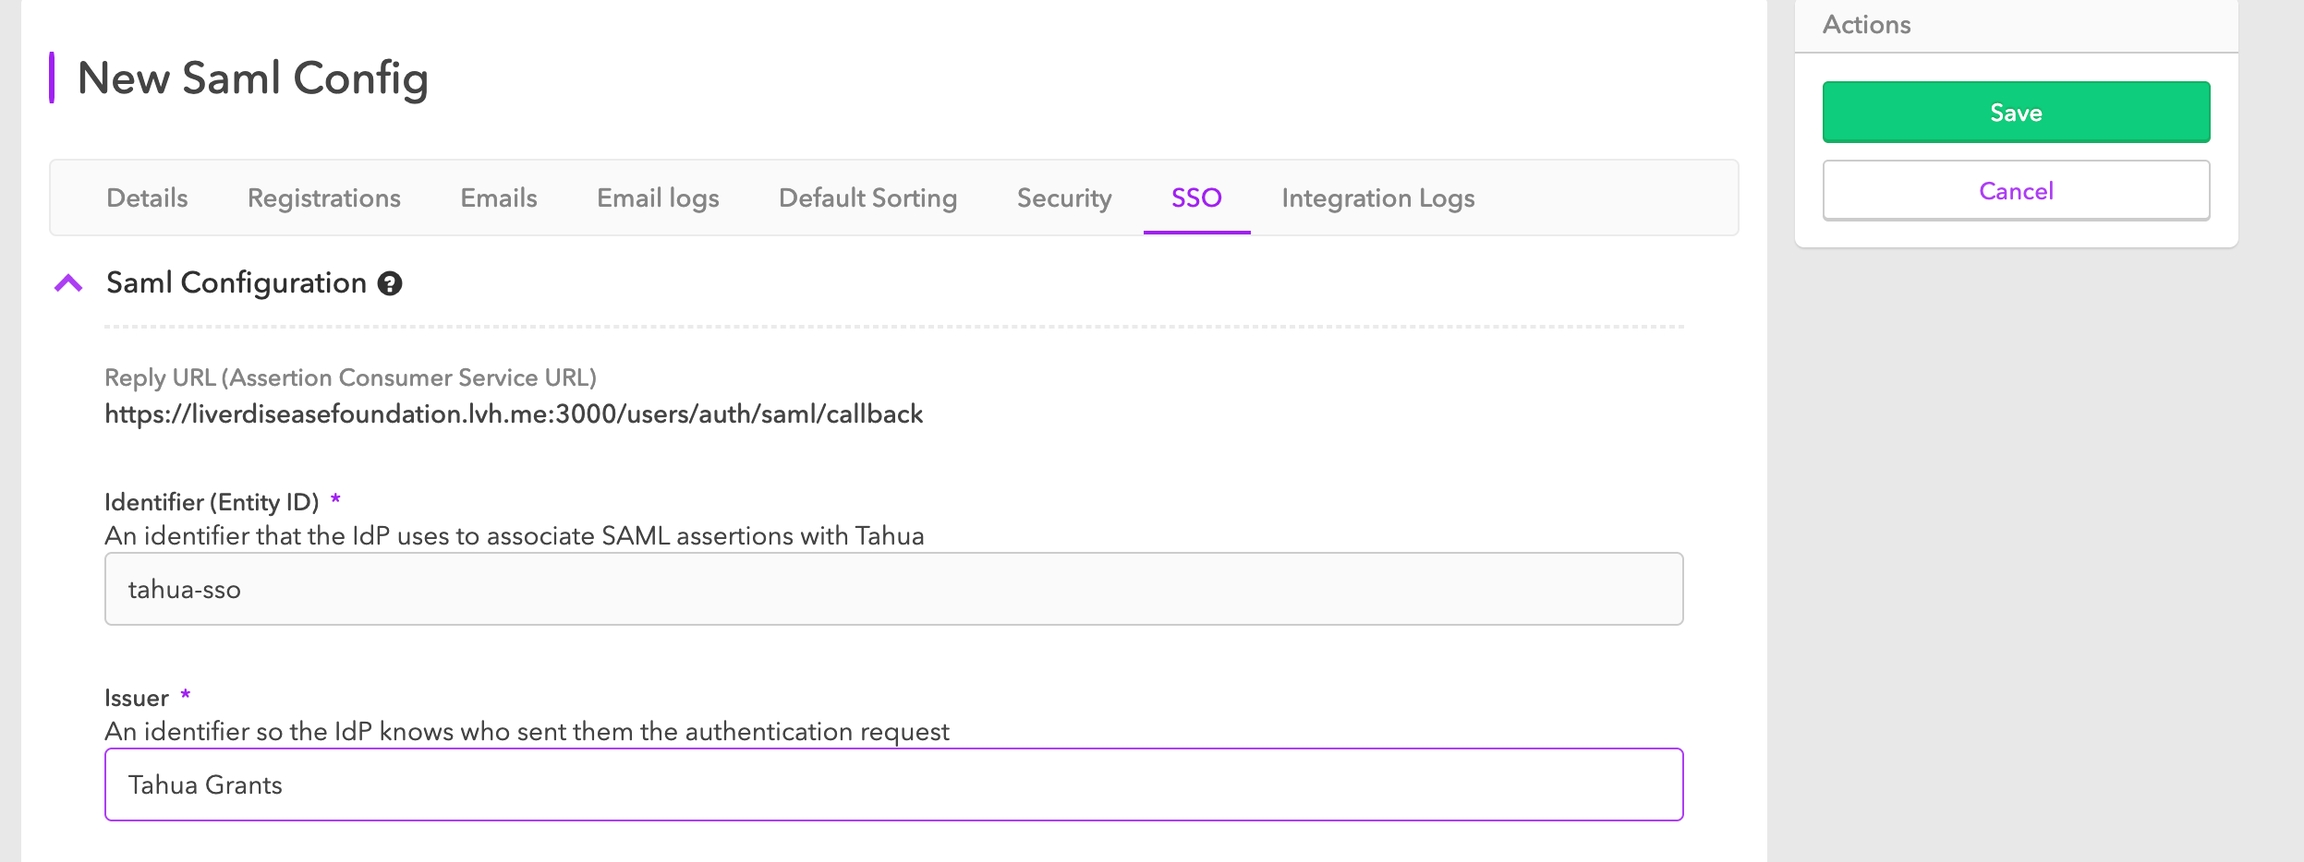
Configure ACS, Entity ID and Issuer in Azure
Within your Azure Portal, copy your ACS URL from Tahua into Azure and assign an Entity ID within Azure, then copy that into the Tahua Identifier/Entity ID field — these must match. Additionally assign the Issuer field so the IDP knows where the request is coming from.
6
7
Related articles
Create Decision
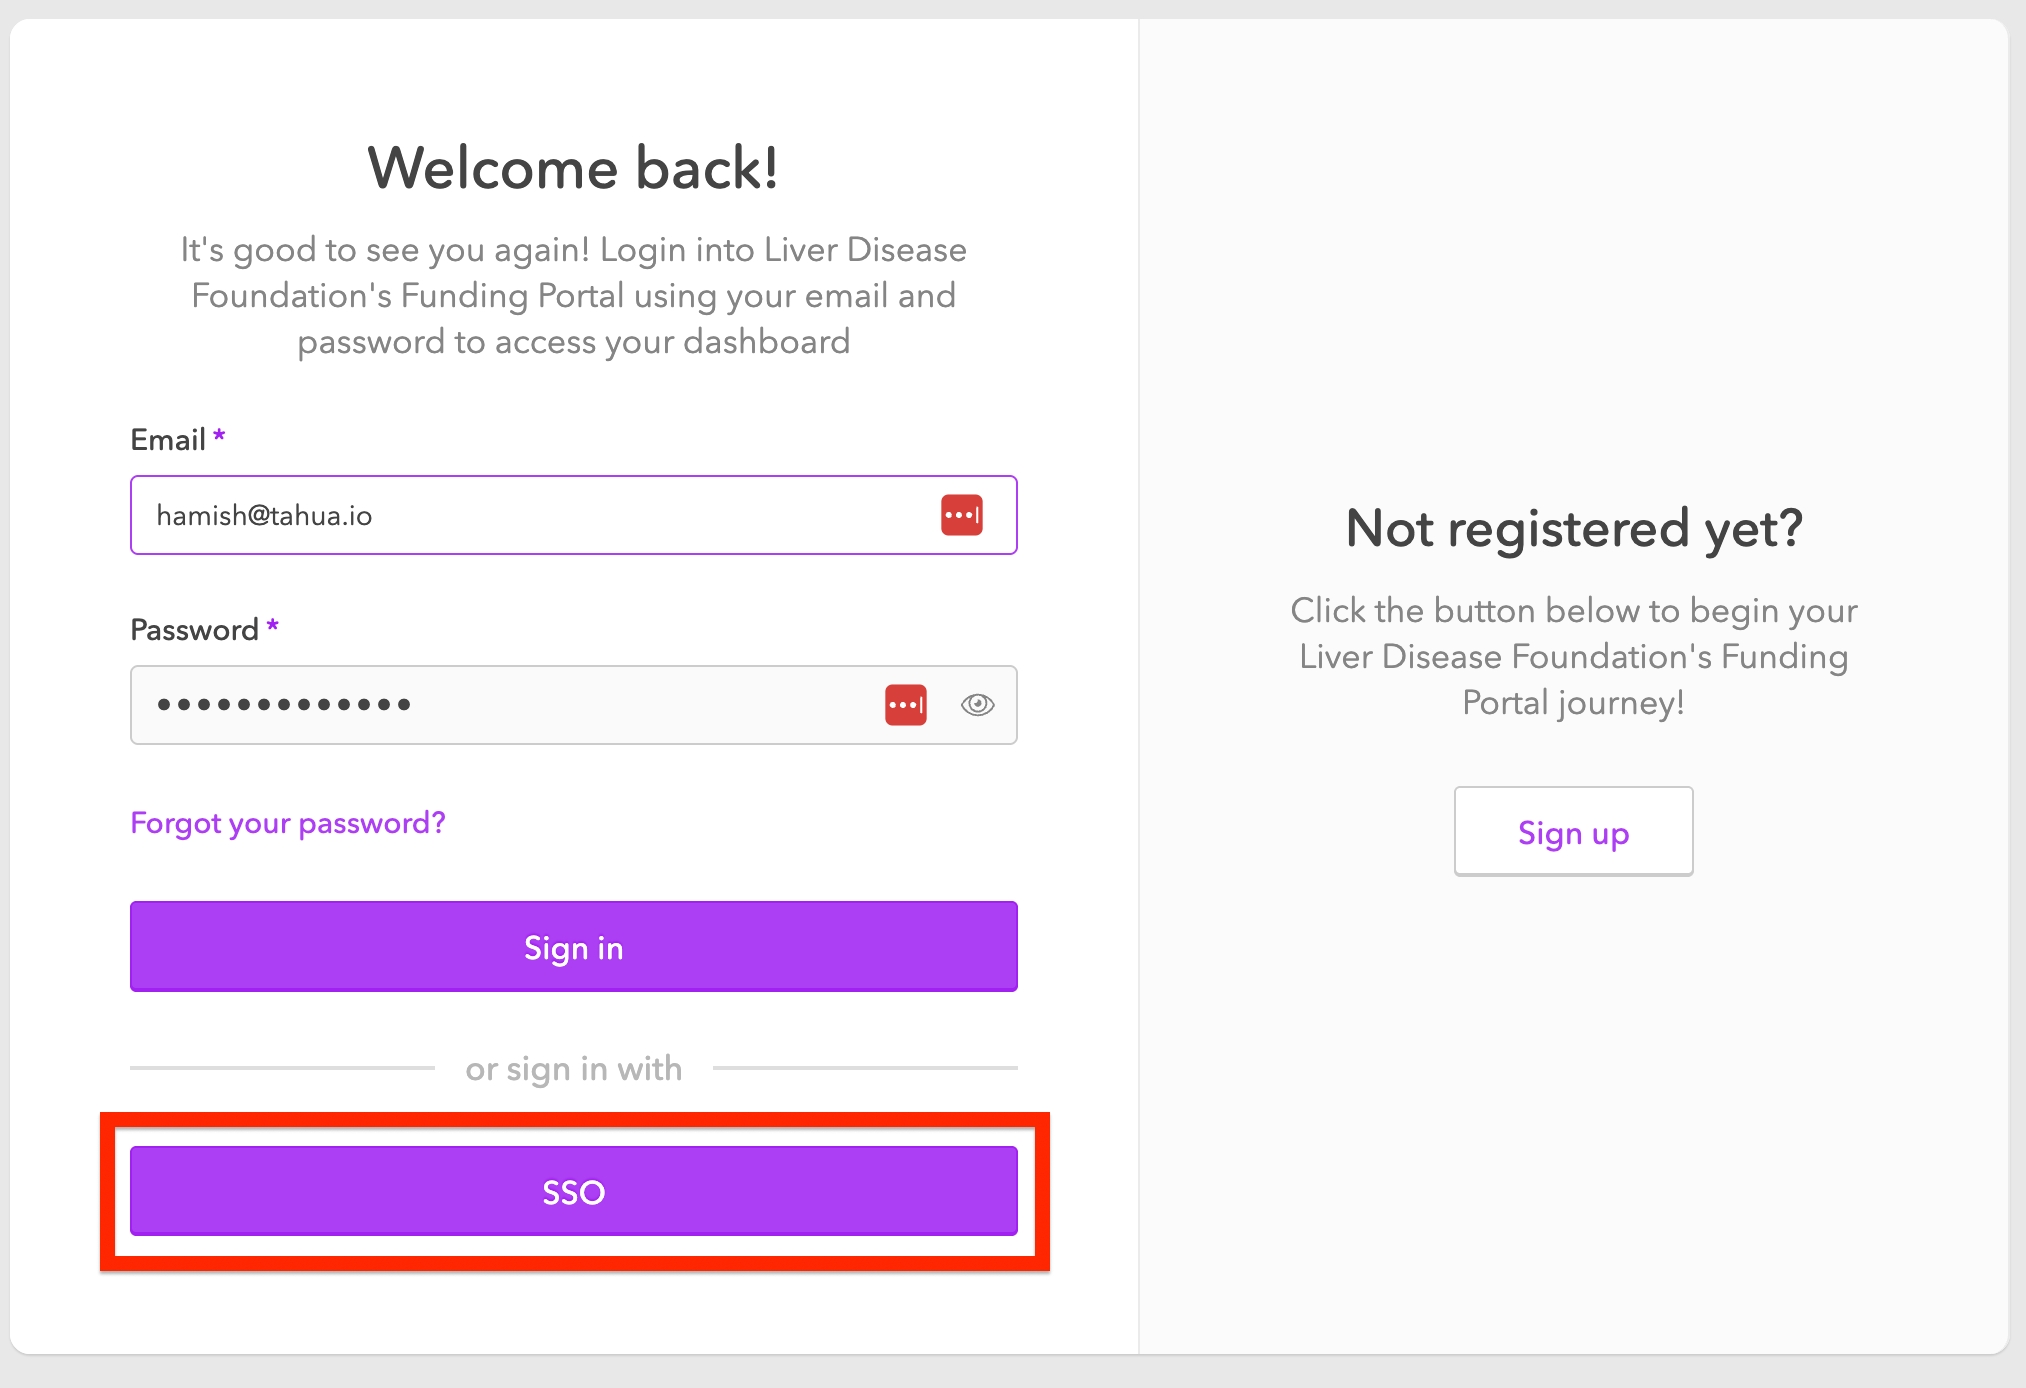
Sign in to Tahua
Assessment Sharing
Create Milestone Batch
Logos and Favicons
Was this helpful?